
What are Digital Signature and Encryption in Thunderbird and How to Maximize Security and Privacy!
Digital Signature and Encryption in Thunderbird
In today’s digital world where emailing is the most common medium for communication, it’s of utmost important that you keep your data, identity, and everything else safe. Data theft, forced data modification, and privacy theft are the major risks one faces when engaging with the online world. It is much more magnified for email users.
Almost nothing is more intimidating than finding out that your personal data is in wrong hands or that someone has impersonated you to get information from others. This digital world is full of such risks and it is very important to be on the safe side.
Digital Signature
Digital signatures have added a much-needed layer of protection into your privacy. It makes it harder for anyone to impersonate you via your emails. And same goes for encryption, which avoids getting your data into wrong hands.
Even though most emailing services allow the connection through SSL, not all do, and even in the presence of SSL connection, it’s possible to break the security since there are often more than two connections and somewhere in the path can there be a non-secure one.
Therefore, it’s important that you learn about digitally signing and encrypting your emails properly. This article is focused on how to do that in Thunderbird. Thunderbird is an email client free of cost and open-source for all major platforms, Windows, Mac, and Linux.
Before moving forward, let’s know the meaning and differences between digital signature and encryption. Digital signature is to let your readers know that the email is from you and no-one else. Thunderbird can detect when an email is signed and when not and will show you the notification regarding that.
The Encryption
Encryption is to secure the contents of your email so only those can read it who have the decryption key. The Encryption is also vital for security because an email goes through many third-parties and it is possible to read/modify them before it reaches the intended reader. Encryption and the “public-key cryptographic system” makes the content impossible to be read by others who happen to intrude the path of an email through different networks and servers.
Now that the definition and their use are clear, let’s move on to how to actually use them.
How to Create, Send, and Receive Keys AND Sign and Encrypt Emails!
Step 1.
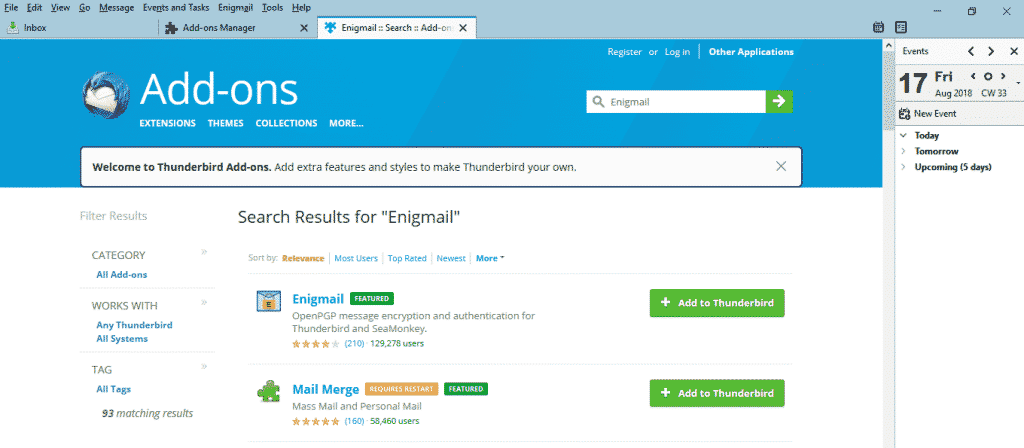
Download GnuPG and Enigmail. The first is a software commonly used to encrypt and sign emails. It uses the PGP protocol, short for ‘pretty good privacy.’ The second is a Thunderbird add-on that lets you easily use GnuPG software directly from the interface and also sign the email.
Step 2.
Search for Enigmail and install it by following the instructions. You can see the Enigmail on the Thunderbird’s menu bar after it is installed.
Step 3:
To setup Enigmail, you need to create the keys. For that, click on the OpenPGP from Thunderbird’s menu bar and select ‘Setup Wizard.’ Use the Wizard’s help option to get started rather than configuring manually.

- Choose to sign all your emails or only for certain recipients.
- Choose to encrypt emails only for certain recipients. Select the ‘No, I will create per-recipient rules for those who send me their public keys.’
- Then Choose “YES” to allow GnuPG to change some of your mail settings to better work. Do not worry; it only changes those settings related to encryption and signing.
- Choose the email account for which you want to create the encryption key. Enter password to protect your private key. This password is also used to decrypt other emails.
- At last screen, you can choose to create a revocation certificate that you can use to inform others that it is no longer valid in case of any compromise to your key pair.
NOTE that there are two keys: one is public that you have to share with others if you want to receive encrypted emails. And the other is private that allows you to view encrypted emails.
How to Send Emails with Signature and Encryption and How to View incoming Encrypted Emails
Now that you have created the keys, it’s time to know how you can use them.
Step 4:
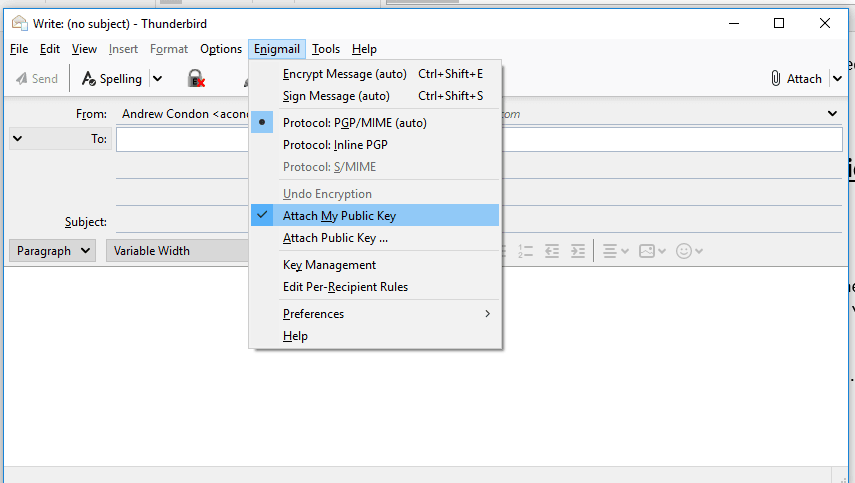
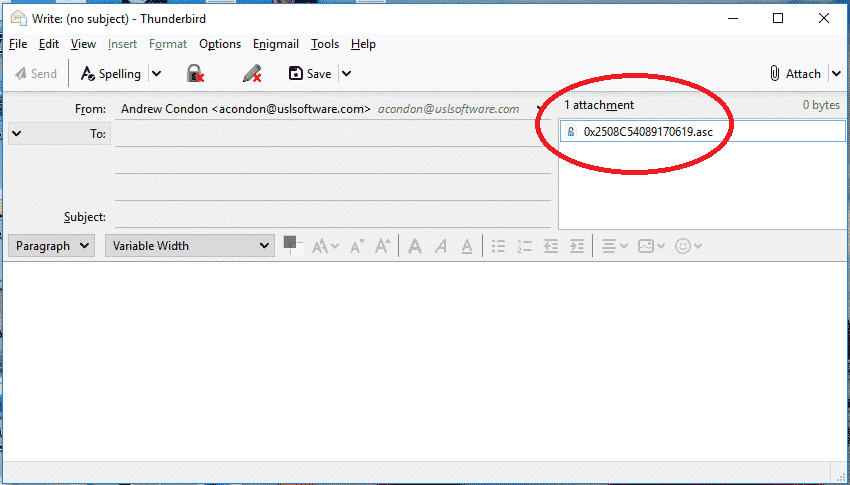
To send your public key to others who want to send you encrypted emails, compose a new email and click on Enigmail on the Thunderbird’s menu bar and select “Attach my public key”. Your key will be attached with the email.
Step 5:
When others send you their public keys, you can view them as attachments that end in .asc. You can import that file or open to view the key.

Step 6:
How to actually sign and encrypt an email is very simple. While creating a new message, click on ‘Enigmail’ on the Thunderbird’s menu bar and enable ‘Sign Message” to digitally sign and “Encrypt Message” to encrypt. You have to enter the password for encryption you created while creating the key. If the key is not associated with the email address, Thunderbird will automatically list the keys you have imported for you to select from.

Step 7:
To read an incoming encrypted message, you simply have to the enter the password. A green bar at the bottom of the email will let you know if the email has been signed or encrypted or both.
Step 8:
This is a final and additional step, but very important. It’s in the case when you think your private key has been compromised and somebody has got hold of the file containing your key. You can go to the Enigmail options to revoke it. Click on Enigmail -> Key Management -> Display all Keys by default -> Right click on the key you think has been compromised and select ‘Revoke Key.’ You can also send the revocation certification to inform others that your key has been revoked for security purposes and is no longer valid.


Email security is a complex technology that is constantly being updated and refined. And hopefully, with the above process, your data and privacy are always secure. Just by a few additional steps to your conventional routine of sending and viewing emails, you can add a much-needed layer of security.
I found your Blog so helpful & informative to know details about Digital Signature and Encryption in Thunderbird. The way of representation is also so nice to get understand. Thanks for sharing.
Thank you 🙂